Wednesday, September 19, 2012

DIY Halloween Trophies


 by the Big Sister

My Sister's 4th annual Halloween Bash is 1 month away and I can't begin to explain how excited I am.  By this time last year I had several spooky projects going on so I've been itching to get my hands dirty!  This year I've been tasked to create trophies for a spooktacular costume contest.


Objective: Inexpensive and unique. 
There are so many great ideas I found on Pinterest
and Google but I wanted to come up with something more my own.

Skill level: Easy...

...if you can use a glue gun, have a bit of time and
 a decent amount of patience.


________________________________________

Inspiration from: Bogleech Blog
(Other) inspiration from: Pinterest
(unfortunately they don't all link back to their original sources).

Supplies: Acrylic and spray paint, LOTS of hot glue,
and Dollar Store/ thrift store finds listed below.
1. Dollar Store Barbie bust, 2. Dollar Store Trophies, 3. Child's plastic music box from thrift store, 4. Toy wings from thrift store, 5. Mini trophy from thrift store, 6. toy strainer, 7. Top half of a Halloween trident, 8. Plastic vase from the Dollar Store, 9. Rod iron candle holder base from thrift store
Step 1:  
 Decide on the "bones" of each of your trophies.  I was asked to create 6 and wanted them all to be fairly different from each other.  I stacked many different components on top of each other until I got the combination I wanted. 
Spray each piece your desired trophy color.  I chose Gold (I decided to use gold acrylic paint to paint anything on the barbie doll busts.  I've spray painted barbie plastic in the past and it makes them very tacky - seems like it never really dries.)


Step  2: 

Paint your barbie busts.  Again, I used acrylic paint (a few layers) on their "flesh". 


 Step  3:  Anatomy of a trophy...
Zombie Trophy: I glued a Dollar Tree Barbie bust to a Dollar Tree trophy.  Hot glue was dripped from the bottom shoulders of the bust down the trophy to give it a "uniform" and melting feel.  The face was painted in cream colored acrylic paint, the eyes were blacked out using black acrylic paint and watered-down black acrylic paint was smeared down her face and neck.


Half Barbie/Half Trophy: The following components were glued on top of each other (from top to bottom) - mini trophy from a thrift store on top of a Dollar Tree Barbie bust on top of an upside down Dollar Tree plastic vase anchored to a child's toy strainer. 

Many layers of hot glue were dripped from the top of her head to the bottom of the vase.  A portion of the Barbie's face, hair and shoulder were left exposed to maintain the half and half look. 


Half Barbie/Half Trophy (the smaller version):  This trophy was created using steps from the Zombie trophy and the first Half Barbie/Half Trophy.  See above for details.


Bride of Frankenstein Trophy:  I began by building her beehive hair style with several layers of hot glue.  Once dried, the layers of hair were painted with black acrylic paint stripped with white acrylic highlights.  The Bride's flesh was painted with a white/green acrylic paint, and her eyebrows, lips, stitches and eyelids were constructed using black acrylic paint.  Her shoulders were painted with gold acrylic paint and attached to the child's plastic music box spray painted in gold.


Vampire/Demon Trophy:  She was created by connecting a Dollar Tree Barbie bust to an upside down plastic Dollar Tree vase.  Wings from a child's toy found at a thrift store was painted in the coordinating gold color and glued to her back.  Her "flesh" was painted with off white acrylic paint while her eyes were blacked out using black acrylic paint.  Watered down black acrylic paint was used to shade and hollow out her cheeks, mouth, forehead and eye sockets.


Bleeding Skull Trident Trophy:  I found the top half of what may have rested on top of a staff at my local thrift store and knew it would make a pretty awesome trophy...
...if I could find a base.  It was meant to sit on top of something as it had a large hole in the bottom and wasn't created to free stand.  Low and behold in the next isle, I found a lonely rod iron candle holder base.  These items alone made for a waste of time but with their powers combined we have a First Place trophy!  I spray painted both elements gold, painted the eyes and nose with black acrylic paint and dripped blood (hot glue painted with red acrylic paint) down the skull.


Step  4:  The Trophy Plaque - I printed out the trophy labels (see examples below) and layered them on top of white and black scrapbook paper.  Each label was laminated and attached with string.
Side 1:
4th annual Halloween Bash
10.20.12
Hosted by Jaime & Jason Meyers

Side 2:
Best Costume
"Black & White"
2012
I made "Best Costume", "2nd Best Costume" & "3rd Best Costume" (adult and kid editions).  "Black & White" signifies the contest theme.  This year anyone entering in the contest must be wearing a costume that is either black or white or black & white.


Cost: Each trophy cost me between $2 - $5 dollars (I already had the hot glue and paint).


And the award goes to...stay tuned for the trophy winners and the rest of the Halloween shenanigans!


 We linked up to these parties: 


Monday, September 10, 2012

Gallery Wall

Galleries have a very warm and cozy feeling to me and I'm excited to share my work in progress.  Although I've taken inspiration from the blog world and Pinterest to spark my creativity (please check them out below), my biggest influence has been my Grandmother (I'll include a picture of her wall as soon as I make it back to Ohio).  She has maintained an ever growing gallery wall housing 6 generations of family and collected accessories.   A creative and beautiful way to show off her most loved and collected pictures and things!

My Web-spiration


Anatomy of (my) Gallery Wall

After painting my living room I realized the walls were far too long to get away with hanging a few pictures.  This was going to take an eclectic army.  Everything needed to have meaning and feel "collected" so here are the first few versions of The Wall.


1.  Photo collage (of me as a chubby baby) that hung on my Grandmother's wall for some 20 years.  I recently inherited it with open arms.
2.  Blank canvas wearing the wall color
3.  Hand painted art piece by my talented Cousin - in need of a frame.
4.  Canvas (painted in the wall color) Ohio = Home / Arizona = New Home
5.  You Are My Sunshine sheet music = My Grandma would rock us to sleep singing this song.
6.  Another hand painted piece of art by my Cousin.
7.  I found this guy and #9 at Target a few years back for $2.95 each.  They hung in my bathroom for the longest time.  They were given a bit of a make-over.  

 8.  The talented Cousin strikes again.      
9.  See # 7
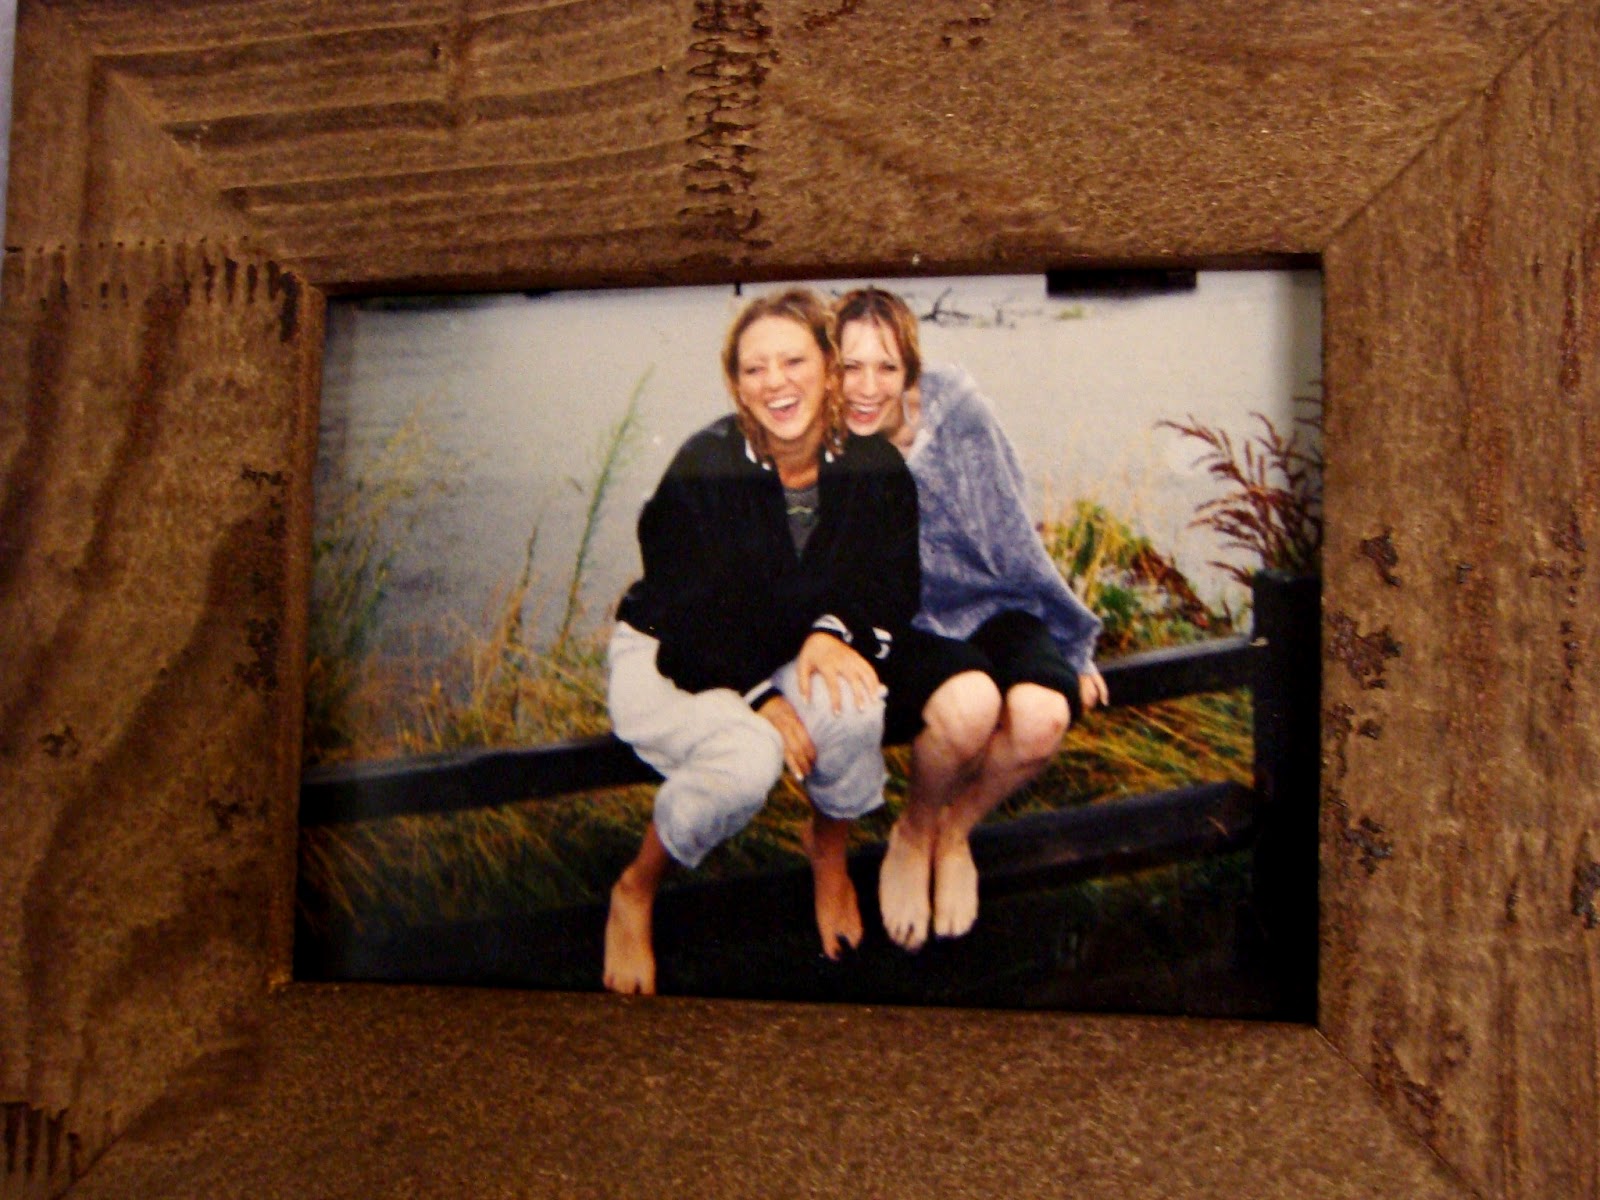
10.  Framed picture of me and one of my best friends.  Circa 1999 - it flooded so bad that summer  the water was reaching car hoods and people were canoeing down the street.  

11.  Wood frame I found on sale at Target.
12.  My family and I took an annual vacation to the memory filled Twilight isle located on Manitoulin Island In Ontario, Canada.  My Cousin hand painted the island landscape and sent it to me as a birthday card!  I had to frame it.  Amazing. 

13.  This collage was created by another best friend and given to me as a birthday present!  Thanks Tara!
14.  A Sister is worth a thousand friends.  My sister sent me this plaque a few years ago :)

15.  Blank canvas wearing the wall color.
16.  Our wedding photo in a frame I found at Savers. Scrapbook paper was used to matte the photo.
17.  Photo of my Sister and her kiddos on her wedding day.  The frame began life plain and black.  I wanted to give it a more aged look so I took a dry brush and very little paint - lightly stippled the color on. 

18.  Photo of my nieces in a frame I purchased at Savers.  Scrapbook paper was used to matte the photo.
19.  A photo from my wedding - my bridesmaids.  See #17 for the frame make-over.

20.  Not only is Tara one of my besties but she holds a few other useful talents.  She's an inspirational Health Coach and a pretty kick ass Photographer.  Thanks for bringing a little bit of the Ohio country into my living room :)  

21.  A picture of my Husband and his Sister when they were younger.
22.  A photo of me and my Sister on vacation in Canada.  See #17 for the picture frame make-over.


A few changes were made after this picture was taken.  Added turquoise to the burlap canvas art, changed out matte color in two of the framed photos.  Removed the barn wood picture frame.

Adjacent wall and other accessories

I found this beast at Goodwill for $1.99!   You can't find a picture frame this large for $1.99 and it was already painted the color I wanted!


I said goodbye to the embroidered flower art and used the orange frame to outline a turquoise dragonfly art piece found at Hobby Lobby.  I sure love a deal - It was originally $69.99 - I got it 1/2 off!

The XL sized frame below (middle) was also found at Hobby Lobby in the damaged sale section - $29.99.  I thought it to be a pretty good deal considering its massive size.


New Lamp


New Rug


Link parties
my uncommon slice of suburbia 
mad in crafts
alderberry hill


Monday, September 3, 2012

In a perfect world I hire people to paint my walls!

by The Big Sister

We've lived in our home for nearly 4 years and have been remodeling VERY SLOWLY, room by room and tax refund check by refund check.  One of our latest projects has been a year in the making.  We started by pulling up the horrendous parkay flooring sold with the house.  It was very orange in color and many of the pieces were worn and in need of attention.  This was replaced with 18'' ceramic tile in (insert color here - I have no idea.  It is very light in color) and boy did that freshen everything up! 

The walls maintained their original pinkish cream shade for several months until I could make my mind up on a paint color.  This wasn't easy and My Husband tells me to just go with what i want.  Well, I don't know what I want most of the time - too much to choose from!  So, when he went on a weekend Vegas trip with the guys I took the plunge. 

My original plan was to paint 3 walls a color named  Milestone by BEHR and go for a feature wall with the coordinating color that was listed on the color swatch - Manhattan Mist.  So I start with the feature wall - the longest and tallest wall in the room.  I complete the wall before deciding how much I disliked Manhattan Mist. The paint color was far to "cool" and bright for this room's light flooring, vaulted ceilings and large bay windows...so I repaint in Milestone.  When I chose the color originally I thought it was more of a gray then a blue/purple but it has grown on me.


Lots of things still need to happen in this room but we have a good start!
To do:
  • Paint Trim (blue painters tape is already in place as you can see)
  • Replace Switch-plates (or at least put the old ones back on)
  • Install a ceiling fan
  • Entertainment center
  • TV
  • End table
  • Lamp
  • Sofa
  • Recliner
  • Additional lighting
  • Some sort of buffet/bar/shelves/storage
  • Wall art
  • Gallery Wall (upcoming blog post) 


LinkWithin

Related Posts Plugin for WordPress, Blogger...