by the Big Sister
 My Sister's 4th annual Halloween Bash is 1 month away and I can't begin to explain how excited I am. By this time last year I had several spooky projects going on so I've been itching to get my hands dirty! This year I've been tasked to create trophies for a spooktacular costume contest.
Objective: Inexpensive and unique.
There are so many great ideas I found on Pinterest
and Google but I wanted to come up with something more my own.
Skill
level:
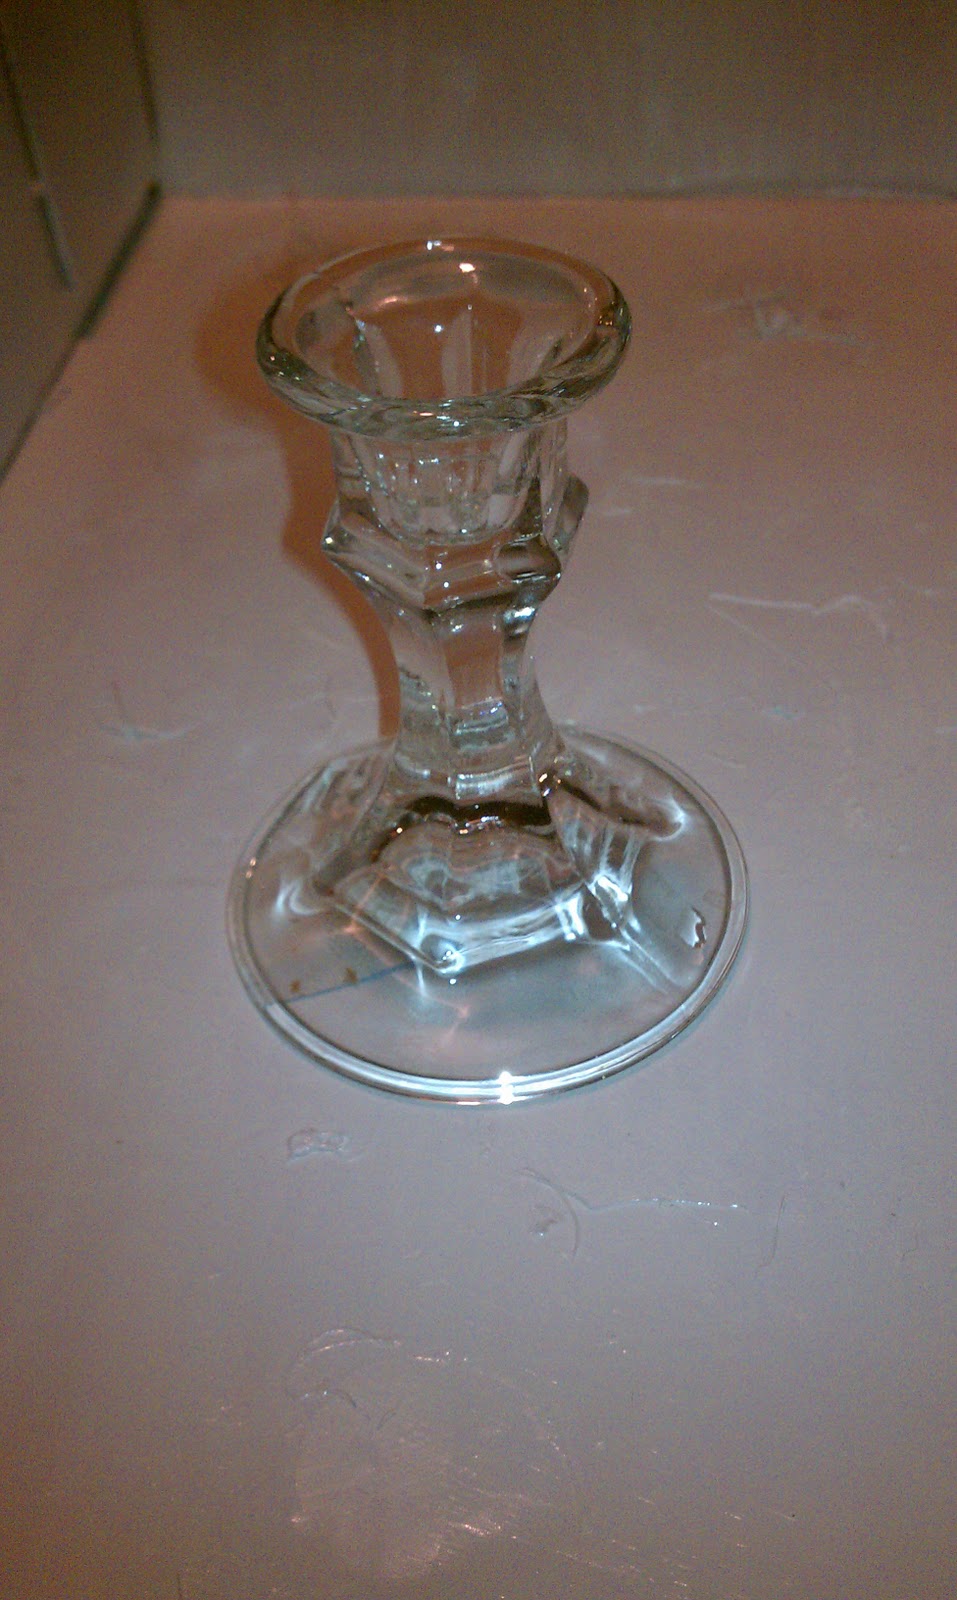
Easy...
...if you can
use a glue gun, have a bit of time and
a decent amount of patience.
________________________________________
(unfortunately they don't all link back to their original sources).
Supplies: Acrylic and spray paint, LOTS of hot glue,
and Dollar Store/ thrift store finds listed below.
 |
1. Dollar Store Barbie bust, 2. Dollar Store Trophies, 3. Child's plastic music box from thrift store, 4. Toy wings from thrift store, 5. Mini trophy from thrift store, 6. toy strainer, 7. Top half of a Halloween trident, 8. Plastic vase from the Dollar Store, 9. Rod iron candle holder base from thrift store
|
Step
1:
Decide on the "bones" of each of your trophies. I was asked to create 6 and wanted them all to be fairly different from each other. I stacked many different components on top of each other until I got the combination I wanted.
Spray each piece your desired trophy color. I chose Gold (I decided to use gold acrylic paint to paint anything on the barbie doll busts. I've spray painted barbie plastic in the past and it makes them very tacky - seems like it never really dries.)

Step 2:
Paint your barbie busts. Again, I used acrylic paint (a few layers) on their "flesh".
Step 3: Anatomy of a trophy...
Zombie Trophy: I glued a Dollar Tree Barbie bust to a Dollar Tree trophy. Hot glue was dripped from the bottom shoulders of the bust down the trophy to give it a "uniform" and melting feel. The face was painted in cream colored acrylic paint, the eyes were blacked out using black acrylic paint and watered-down black acrylic paint was smeared down her face and neck.
Half Barbie/Half Trophy: The following components were glued on top of each other (from top to bottom) - mini trophy from a thrift store on top of a Dollar Tree Barbie bust on top of an upside down Dollar Tree plastic vase anchored to a child's toy strainer.
Many layers of hot glue were dripped from the top of her head to the bottom of the vase. A portion of the Barbie's face, hair and shoulder were left exposed to maintain the half and half look.
Half Barbie/Half Trophy (the smaller version): This trophy was created using steps from the Zombie trophy and the first Half Barbie/Half Trophy. See above for details.
Bride of Frankenstein Trophy: I began by building her beehive hair style with several layers of hot glue. Once dried, the layers of hair were painted with black acrylic paint stripped with white acrylic highlights. The Bride's flesh was painted with a white/green acrylic paint, and her eyebrows, lips, stitches and eyelids were constructed using black acrylic paint. Her shoulders were painted with gold acrylic paint and attached to the child's plastic music box spray painted in gold.
Vampire/Demon Trophy: She was created by connecting a Dollar Tree Barbie bust to an upside down plastic Dollar Tree vase. Wings from a child's toy found at a thrift store was painted in the coordinating gold color and glued to her back. Her "flesh" was painted with off white acrylic paint while her eyes were blacked out using black acrylic paint. Watered down black acrylic paint was used to shade and hollow out her cheeks, mouth, forehead and eye sockets.
Bleeding Skull Trident Trophy: I found the top half of what may have rested on top of a staff at my local thrift store and knew it would make a pretty awesome trophy...
...if I could find a base. It was meant to sit on top of something as it had a large hole in the bottom and wasn't created to free stand. Low and behold in the next isle, I found a lonely rod iron candle holder base. These items alone made for a waste of time but with their powers combined we have a First Place trophy! I spray painted both elements gold, painted the eyes and nose with black acrylic paint and dripped blood (hot glue painted with red acrylic paint) down the skull.
 Step 4: The Trophy Plaque - I printed out the trophy labels (see examples below) and layered them on top of white and black scrapbook paper. Each label was laminated and attached with string.
 Side 1:
4th annual Halloween Bash
10.20.12
Hosted by Jaime & Jason Meyers
Side 2:
Best Costume
"Black & White"
2012
I made "Best Costume", "2nd Best Costume" & "3rd Best Costume" (adult and kid editions). "Black & White" signifies the contest theme. This year anyone entering in the contest must be wearing a costume that is either black or white or black & white.
Cost: Each trophy cost me between $2 - $5 dollars (I already had the hot glue and paint).
And the award goes to...stay tuned for the trophy winners and the rest of the Halloween shenanigans!
We linked up to these parties:


